Ultimate Shower Deep Clean Guide for a Sparkling Bathroom
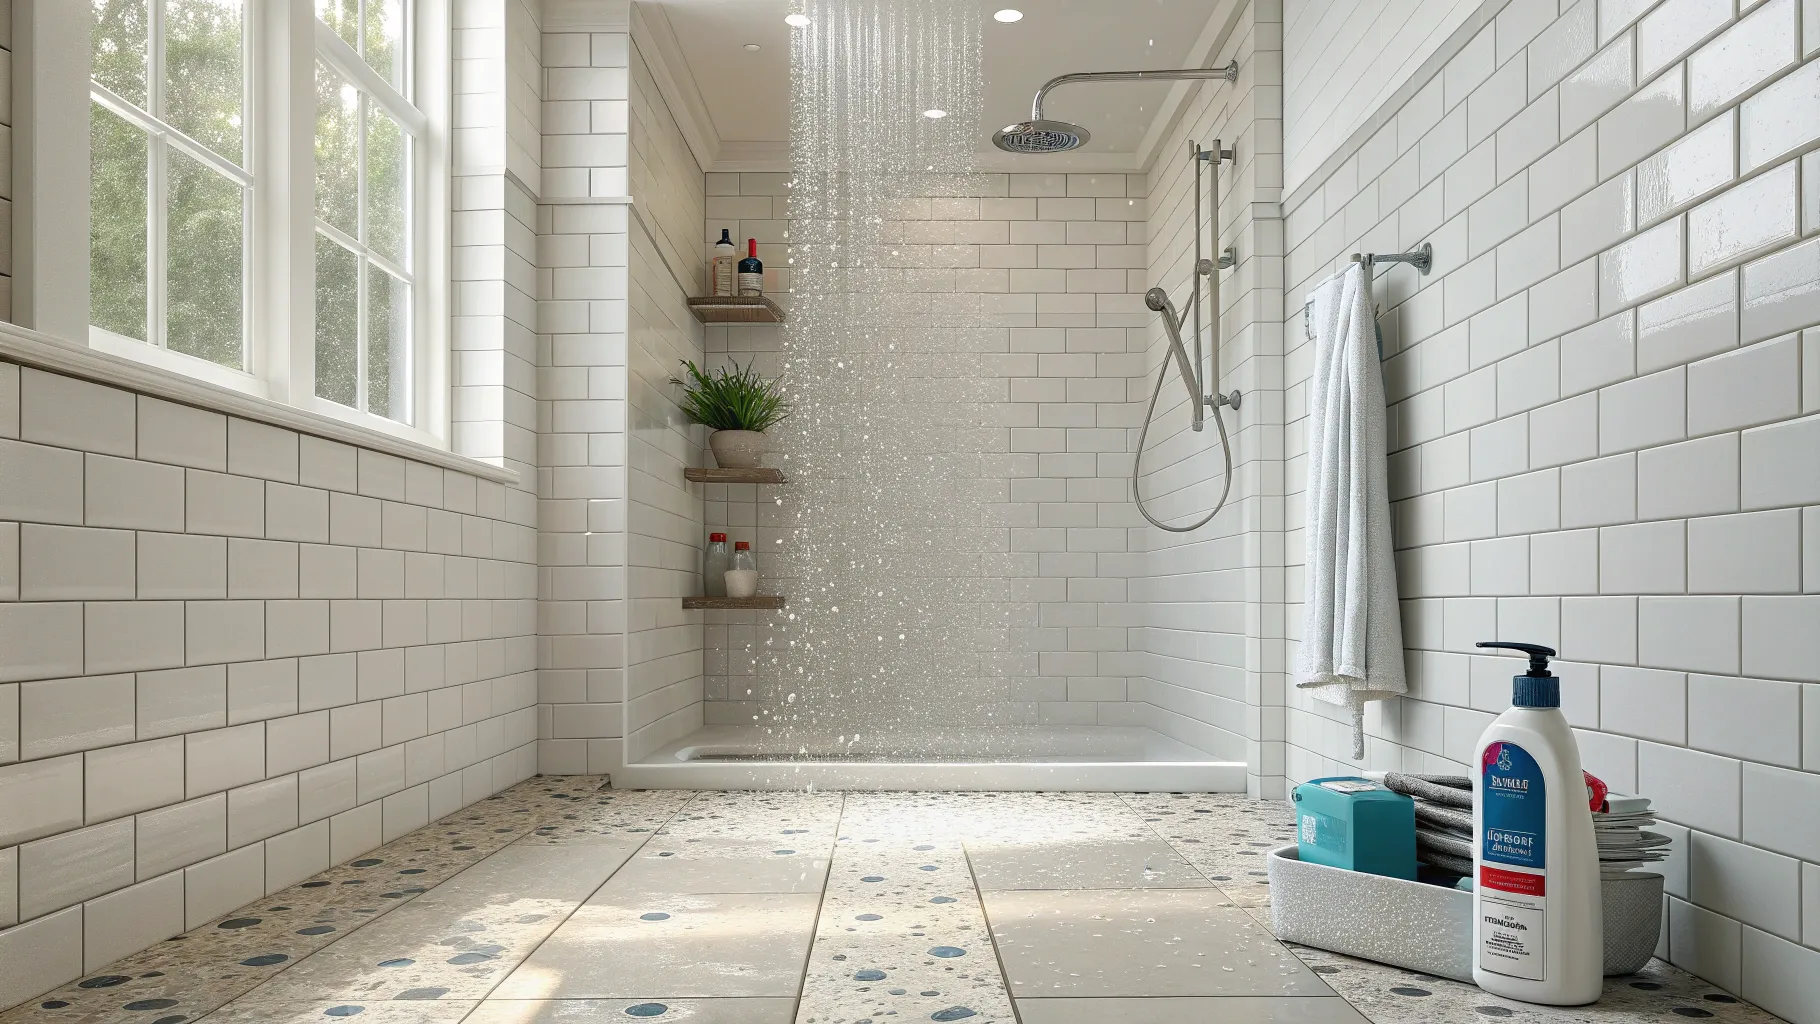
Shower Deep Clean Your Way to a Sparkling Bathroom
In 2025, maintaining a clean and sanitary bathroom is essential for promoting health and well-being. Among the bathroom areas that require the most attention, the shower stands out as a critical zone where germs, mold, and soap scum tend to accumulate. A thorough deep clean of your shower will not only enhance the aesthetics of your bathroom but also contribute significantly to hygiene. Let's delve into effective strategies for ensuring your shower remains sparkling and fresh.
Preparing for Your Deep Clean
Before embarking on the deep cleaning journey, proper preparation is key. Gather all necessary cleaning supplies to make the process efficient and effective. Here’s a concise checklist to get you started:
- All-purpose cleaner
- Tile and grout cleaner
- Mold removers
- Scrub brushes in different sizes
- Sponges
- Squeegee
- Protective gloves
- Bucket
- Old toothbrush (for precision cleaning)
Making sure you have everything you need will set you up for success. Choose a day when you can dedicate at least an hour or two so that you won’t be rushed during this important task.
Step-by-Step Guide to Shower Deep Cleaning
Cleaning your shower requires a systematic approach. By following these steps, you can ensure that every corner is cleaned thoroughly:
Step 1: Rinse Thoroughly
Start your deep clean by rinsing the shower walls and fixtures with warm water. This first step is crucial as it helps loosen dirt, soap scum, and any residue that has built up over time. You can use a handheld showerhead or a bucket to make sure every surface is adequately soaked, facilitating easier cleaning later on.
Step 2: Apply Cleaner
After rinsing, generously apply an all-purpose cleaner or a specialized shower cleaner directly onto the surfaces. Be patient with this step; allow the cleaner to sit for 10 to 15 minutes. This dwell time is vital as it helps break down grime, soap scum, and hard water stains effectively. For stubborn stains, especially on grout, consider a stronger tile and grout cleaner that can penetrate deeply.
Step 3: Scrub Away Grime
This is where you will need to put in some elbow grease. Using your scrub brushes and sponges, vigorously scrub the surfaces in circular motions. Be meticulous and don’t forget to pay special attention to corners, edges, and fixtures—the spots where dirt accumulates the most. An old toothbrush is fantastic for cleaning grout lines and narrow areas. Research indicates that consistent deep cleaning can reduce accumulated stains by up to 75%. That’s a significant improvement for the overall look and hygiene of your bathroom.
Step 4: Tackle Mold
Mold is a frequent nemesis in bathroom spaces, particularly in the damp environment of a shower. If you notice any mold growth, spray a specialized mold remover directly onto these areas and let it sit for 10 minutes before scrubbing. Always ensure your cleaning space is well-ventilated, as many mold cleaners can emit harsh fumes—not something you want to inhale!
Step 5: Rinse and Dry
Once you’ve scrubbed every surface clean, it’s time to rinse away the cleaning products along with all the grime. Use warm water for rinsing, ensuring that you wash away any residues left behind. After the rinse, grab a squeegee and wipe down the walls and fixtures to prevent unsightly water spots. A quick tip: using a squeegee daily can cut soap scum buildup by about 50%, making your deep cleaning less frequent and much easier.
Step 6: Maintain Regularly
Now that your shower looks pristine, the key is to maintain that level of cleanliness. Incorporate a few daily and weekly habits, such as:
- Using a spray cleaner after each shower to keep surfaces fresh
- Performing a quick grout scrub weekly
- Keeping towels and bath mats dry to avoid moisture build-up
Regular maintenance is your best friend in keeping mold and grime at bay. Check caulking often, as sound grout and caulk not only keep water from leaking but also help prevent mold growth. If you notice any cracks or peeling, it’s wise to reseal those areas promptly to avoid future problems.
Protecting Your Shower Surfaces for Longevity
To keep your newly cleaned shower looking fabulous longer, consider applying a surface protectant. These products create a protective barrier against mold, mildew, and mineral deposits, ultimately making future cleanings far easier. A hydro-repellent spray, used after your deep clean, can help ensure water beads off surfaces, significantly reducing the need for scrubbing and prolonging the pristine condition of your shower.
In 2025, embracing hygiene in your personal spaces is paramount. A clean shower doesn’t just enhance your bathing experience; it plays a vital role in the overall health of your household. With effective cleaning methods, regular maintenance, and protective treatments, your shower will always be a peaceful retreat to enjoy.
Armed with this comprehensive deep cleaning guide, you are now ready to face even the toughest shower grime. The sparkling results of your hard work will be not only visible but also rewarding, making your bathroom an inviting space you’ll love using every day. So gather your supplies, roll up those sleeves, and let’s get scrubbing!